Using Hay Bales for Gardening
Introduction to hay bale gardening
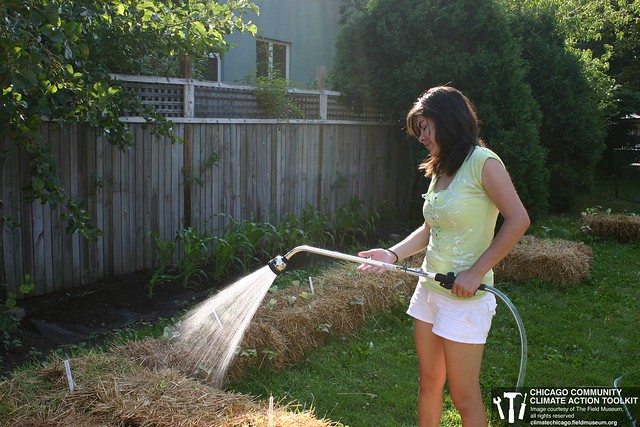
To plant a traditional garden you need space, good soil, and effort – weeding, fertilising, watering, and other back-breaking tasks. However, hay bale gardening provides a more straightforward way of cultivating and managing a garden even if you’re short on space or in the event of a drought.
As the name suggests, a hay bale garden uses bales of straw or hay as opposed to soil for cultivation. Using hay bales for gardening is an especially effective alternative to traditional gardens if you lack adequate space, or you have difficult ground to cultivate. This guide details the benefits and the step-by-step process of setting up a hay bale garden.
Benefits of straw bale gardens
1. No Soil Needed
Hay bale gardens are perfect for gardeners with no space or poor soil for cultivation. Hay forms an ideal alternative to soil. Since the straw bale makes a natural pot for your plants, you can plant anywhere you have room for your bale.
2. No Fertilizer Required
Gardeners don’t need to add fertilizer to their hay bale gardens since the dried grass is rich in nutrients which promote a good yield. Remember, hay comprises of dry grass. This means your bales can trigger the conversion of soil minerals and sunlight into dense nutrition for plant growth.
3. Longer cultivation period
As the straw bale decomposes, it gives off warmth which gives gardeners a head start as spring sets in and a slightly longer cultivation period into fall. Therefore, using hay bales for gardening provides an extra month for cultivation.
4. Little maintenance required
Hay retains more water than soil due to the small size and compactness of grass. Since hay is sponge-like, you only need to water the hay garden once every day.
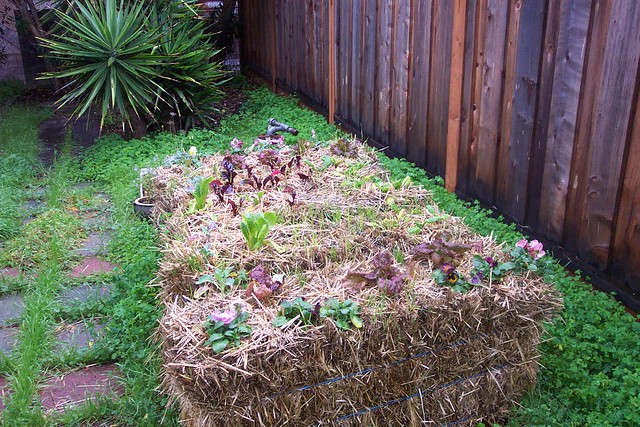
5. Raised cultivation beds
Raised beds are perfect for gardeners with back problems who cannot stoop for long. Straw bales are an excellent natural raised container for cultivation. Unlike traditional raised soil beds, hay bales are ready made and don’t require carpentry skills to assemble.
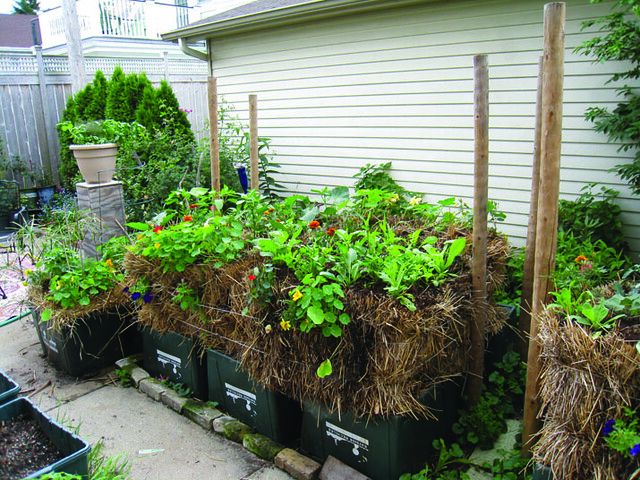
6. Appropriate for small spaces
Do you have inadequate space for your garden? If so, a hay bale garden is perfect for you. Even with a flat roof area or a balcony, a bale or two can support enough vegetables for a small family.
7. No soil-borne infections and less weeding required
Since hay bales are less likely to carry weed seeds compared to ordinary garden soil, hay bale gardeners don’t need to worry about excessive weeding. Any weed that does manage to sprout can be easily pulled out since hay is relatively loose. There also is a reduced soil-borne disease risk.
How to Build a Hay Bale Garden Step-by-Step
Step 1: Condition your hay bales
Use nitrogen and water to condition your hay bales. Fertilizer rich in ammonium nitrate and water should be introduced within ten days to encourage insects, bacteria, and fungi to break down your bale into fresh compost. During this time, the bale temperature rises to 140F; therefore, water serves to minimize any risk for fire.
On the first, third, fifth, seventh, and ninth days add half a cup of nitrogen to the bales. Spray the bale with water so the nitrogen will soak into the bales.
On the second, fourth, sixth, and eighth day, soak the bales only with water.
On the tenth day, add potassium, phosphorus, and nitrogen in the ratio 1:13:13, and water to the hay. If you don’t want to do the calculations yourself, look for Greenleaf, Jobe, or Spectrum fertilizers which are already mixed using this ratio.
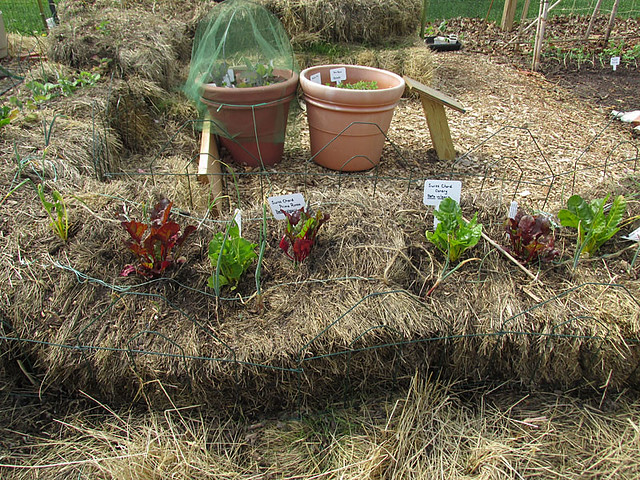
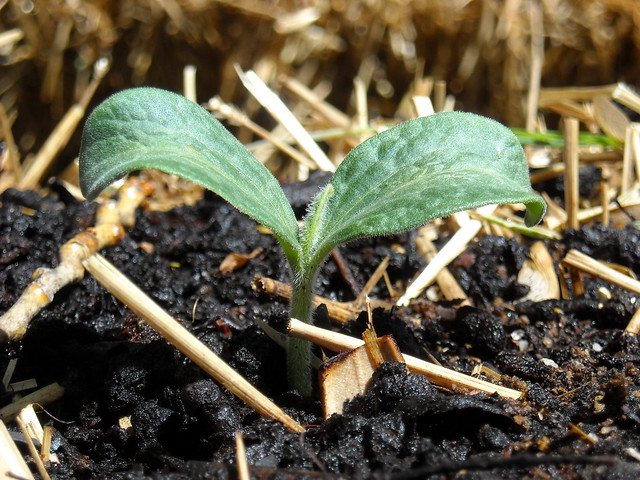
Step 2: Plant your seedlings
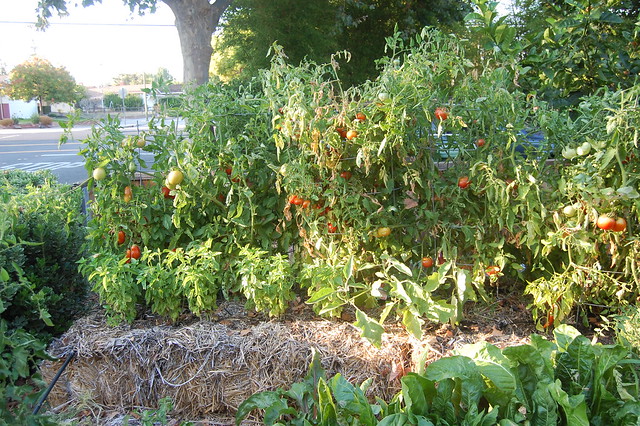
Your bales are ready for planting. You can plant on the sides or top or both. The spacing guidelines are similar to those used while planting in soil. For example, a single bale can hold two tomato plants, three cauliflower plants, two pumpkin plants, or three broccoli plants. Taller plants must have staking systems.
You can plant your bale from seeds or seedlings. However, planting from seeds requires three inches of topsoil or potting soil on the bale. You can get a jump on the growing season by starting seeds indoors under LED grow lights (and also consider a heated growing mat to reduce heating costs). Once your seedlings are large enough to transplant drive a trowel into your hay to open the bale slightly and plant your seedlings in the spaces created.
Step 3: Water the bales
Do not overdo this. Watering your hay bale garden once every day is enough. Especially, remember to water the bales each day during conditioning since bales might dry out faster than soil.
Step 4: Harvest
Harvesting from your hay bale garden is similar to soil gardening. If you planted potatoes, pull back your hay gently, and harvest your new potatoes. Close the open spaces and let your potatoes continue growing.
Step 5: Repeat the above steps
When you are done, compost your hay bales and start your hay gardening cycle once more. During the second planting round, you can plant on top of the hay bales to allow the decomposing hay bales to provide beneficial nutrients to your seeds.
Best Hay Bay Gardening Books
If you want more detailed instructions about using hay bales for gardening, we’ve found the following books to be the best resources: